
Setting Up and Using Branded Tracking Links
Branded Tracking Links allow businesses to customize the customer tracking page with their own branding, marketing content, issue reporting options, and controlled address update settings.
Customers can use the branded tracking link to view order updates, track deliveries, report issues, and update the destination address when eligible.
In this article, you will learn how to:
- Set up and customize a branded tracking page
- Add brand assets such as logo, cover image, and marketing materials
- Understand what customers can see on the tracking page
- Allow customers to update their destination address
- View destination address updates on the order and order timeline
Setting Up the Branded Tracking Link
Go to Settings > Workspace Settings > Tracking Page to view the default tracking page template before any custom branding is applied.
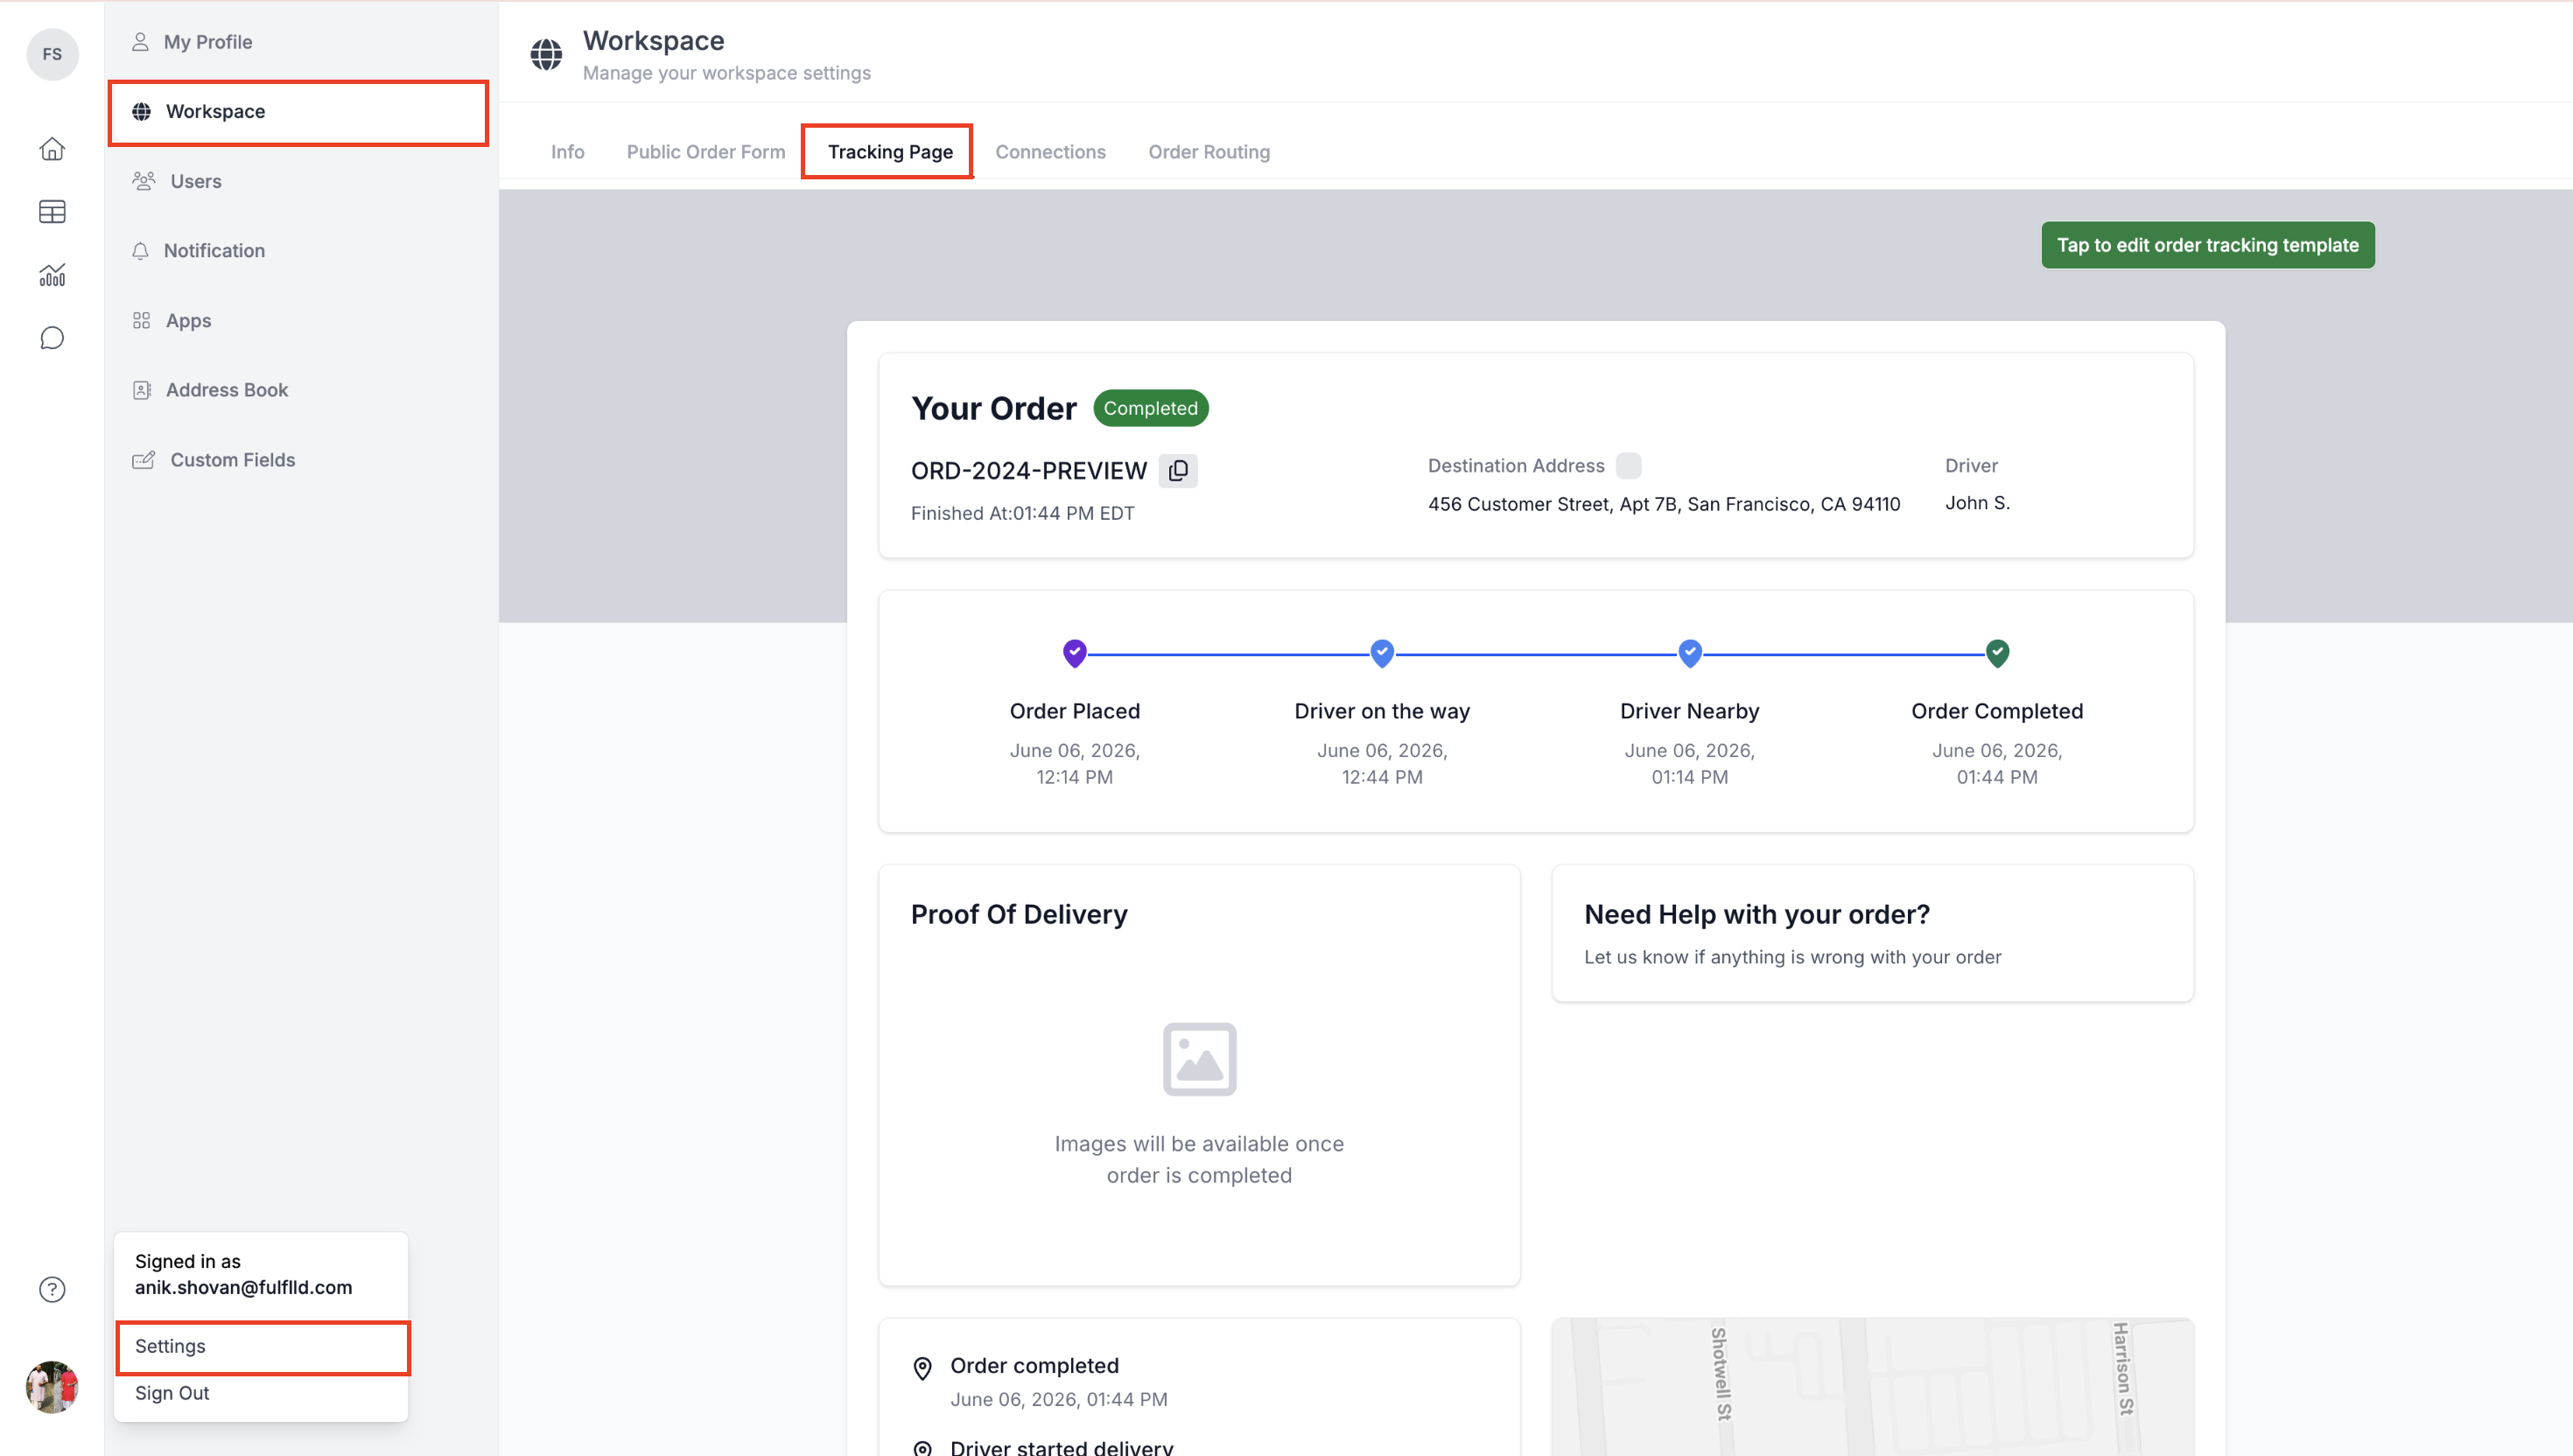
Customizing the Tracking Template
Click "Tap to Edit Order Tracking Template" to customize the tracking page by adding your company logo, cover image, URL, "need help" section, and up to two marketing materials.
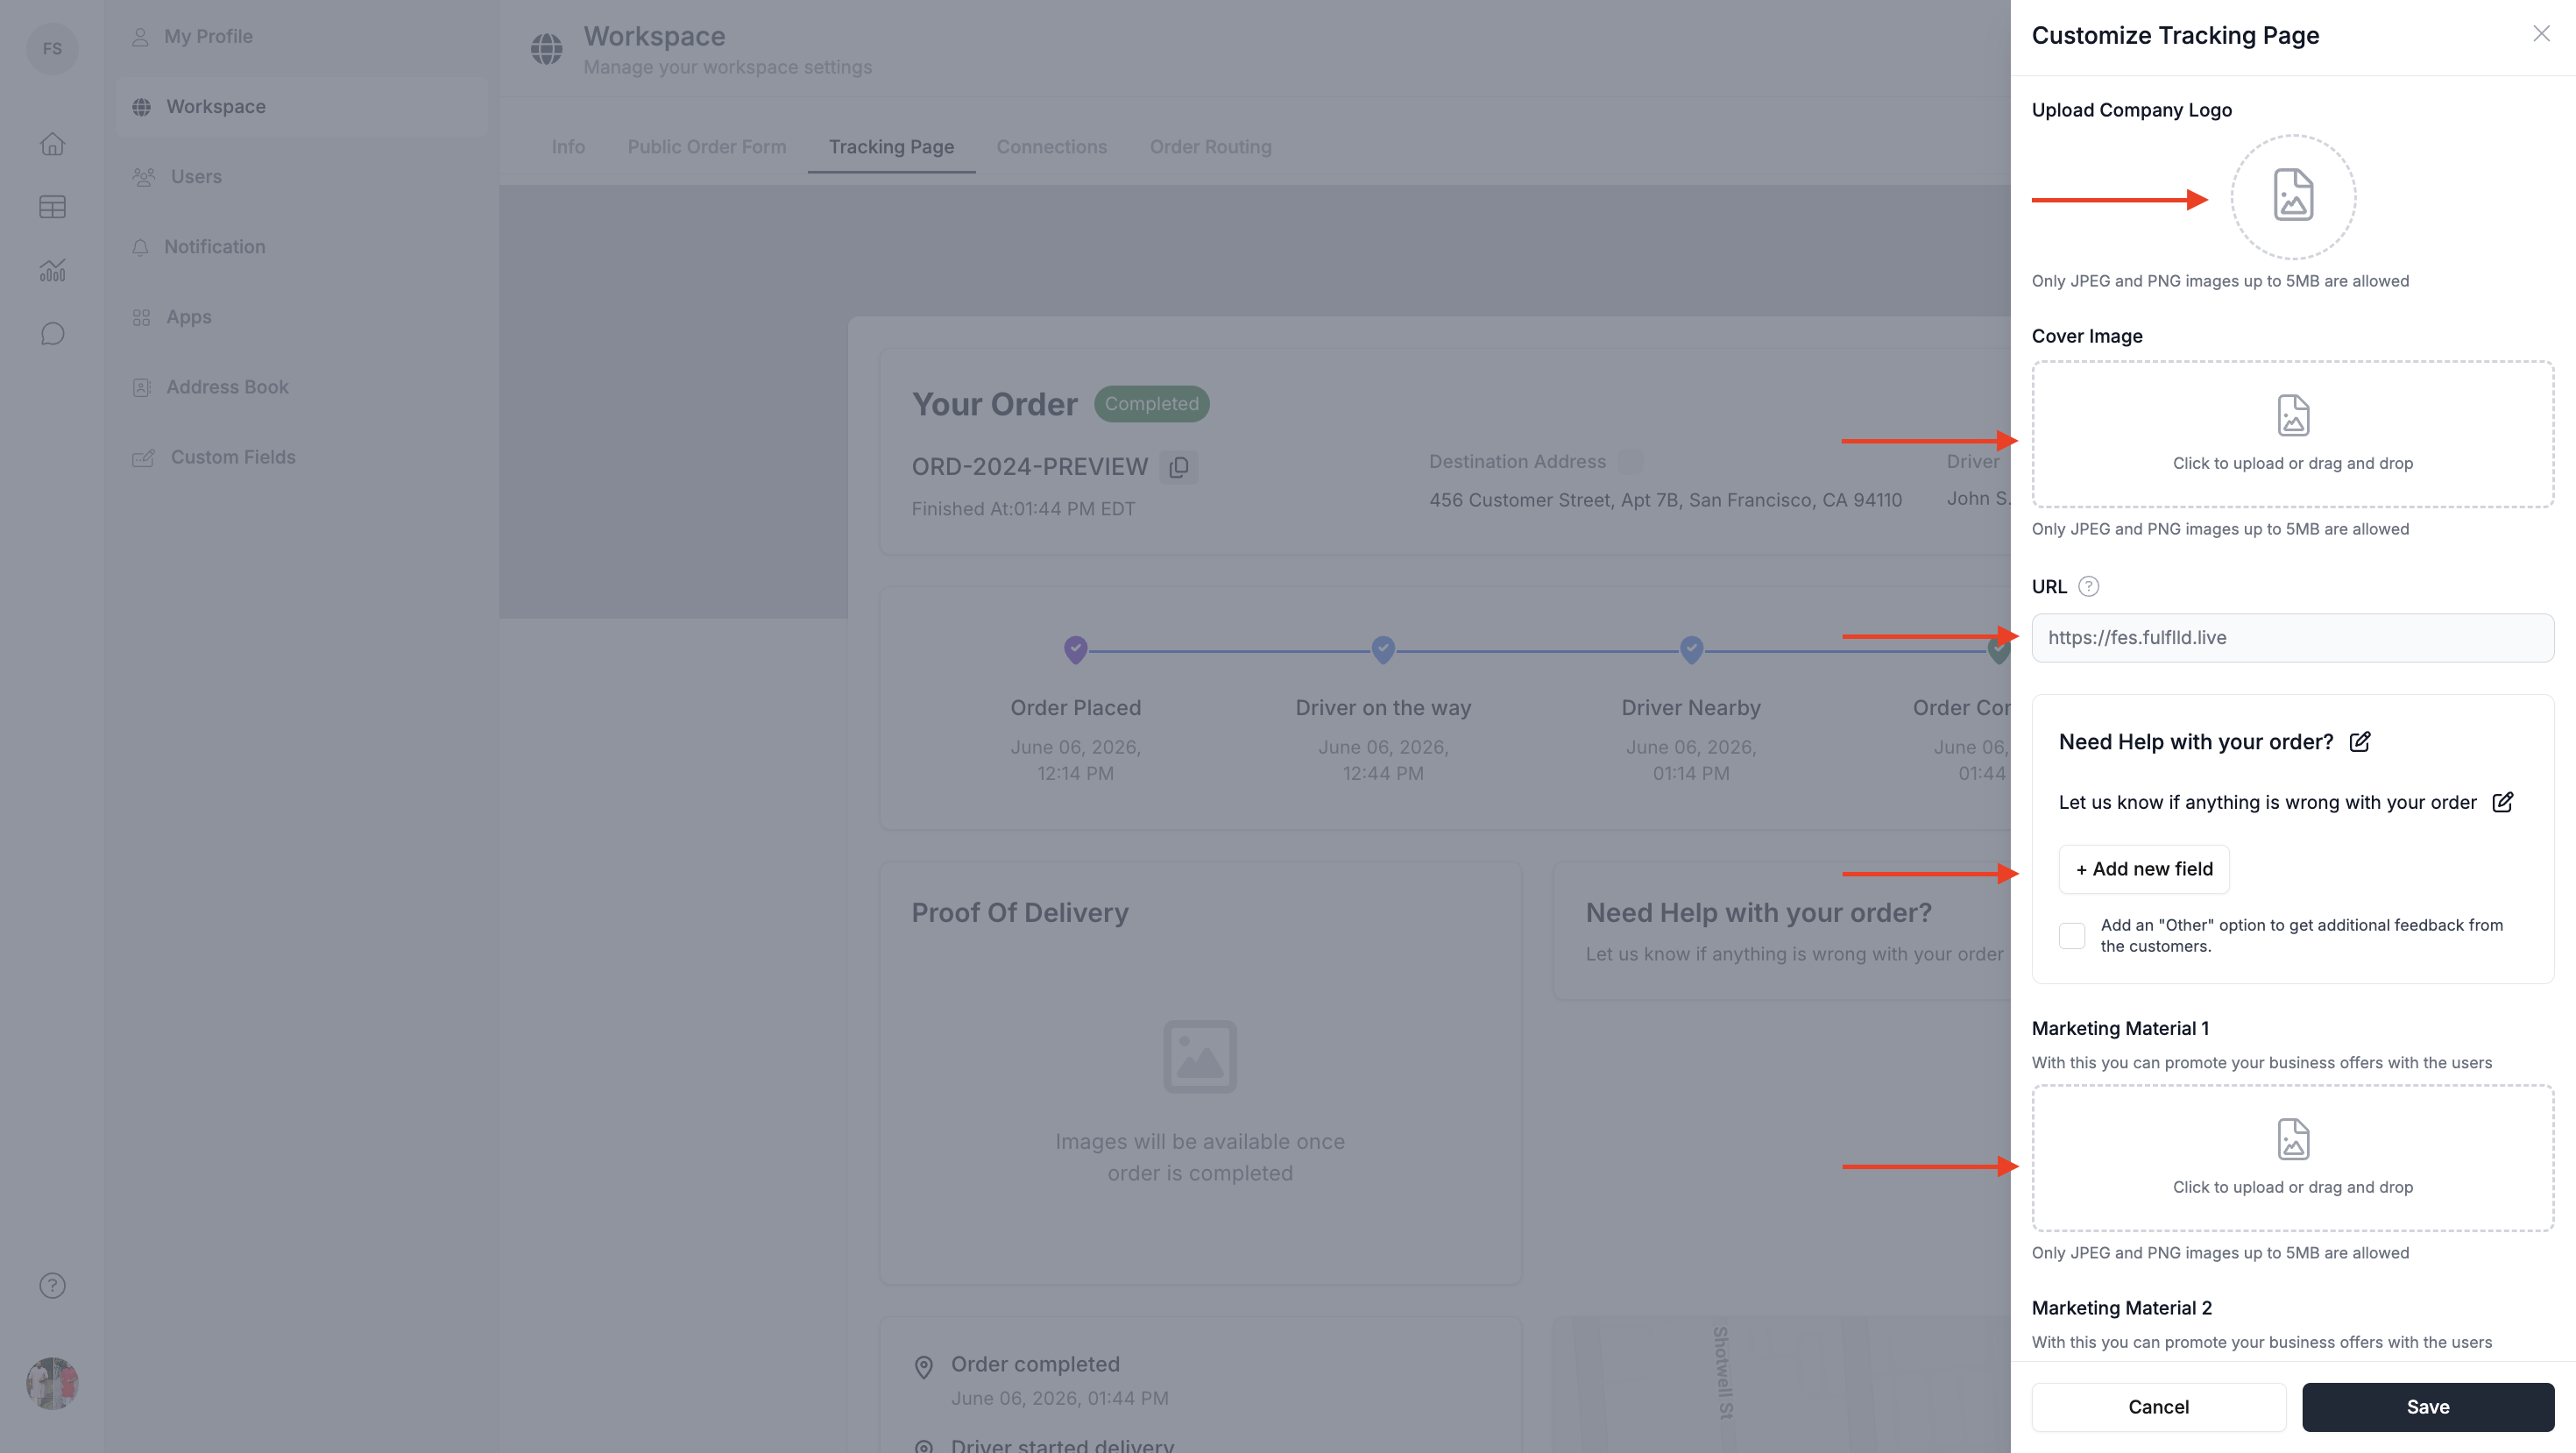
Once the required branding details are added, click Save to preview the branded tracking link.
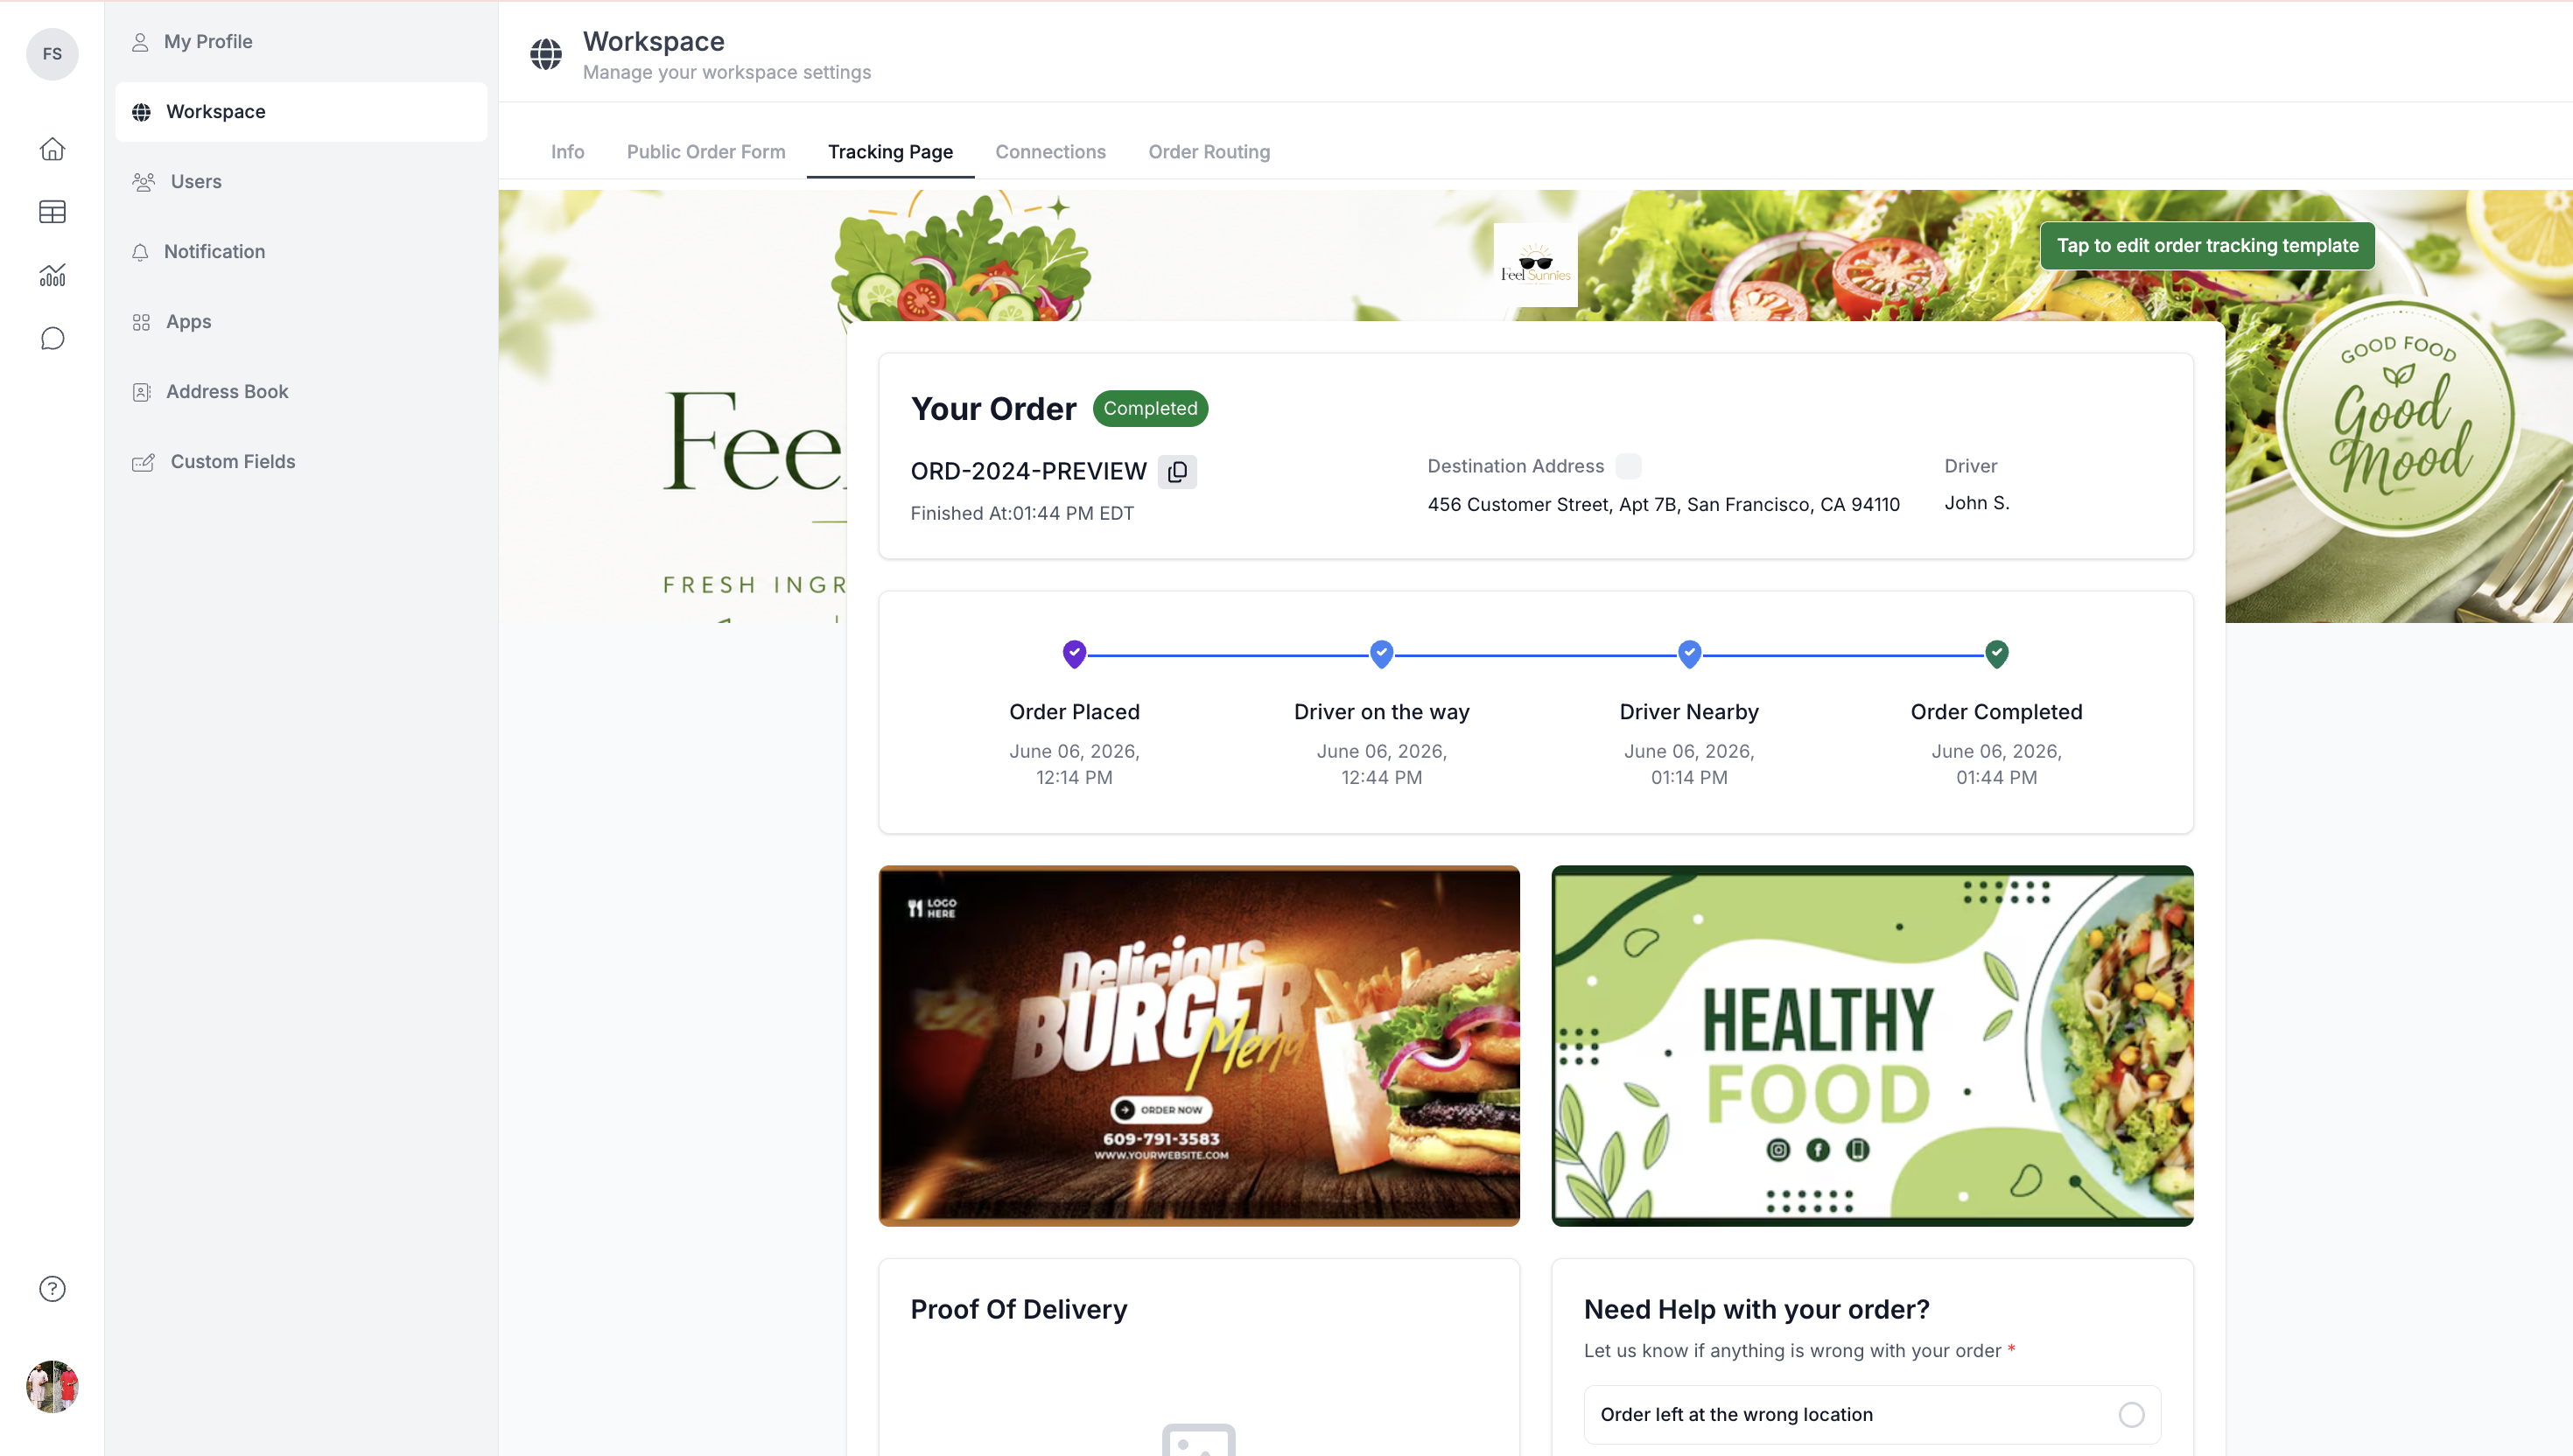
What Customers Will See on the Tracking Link
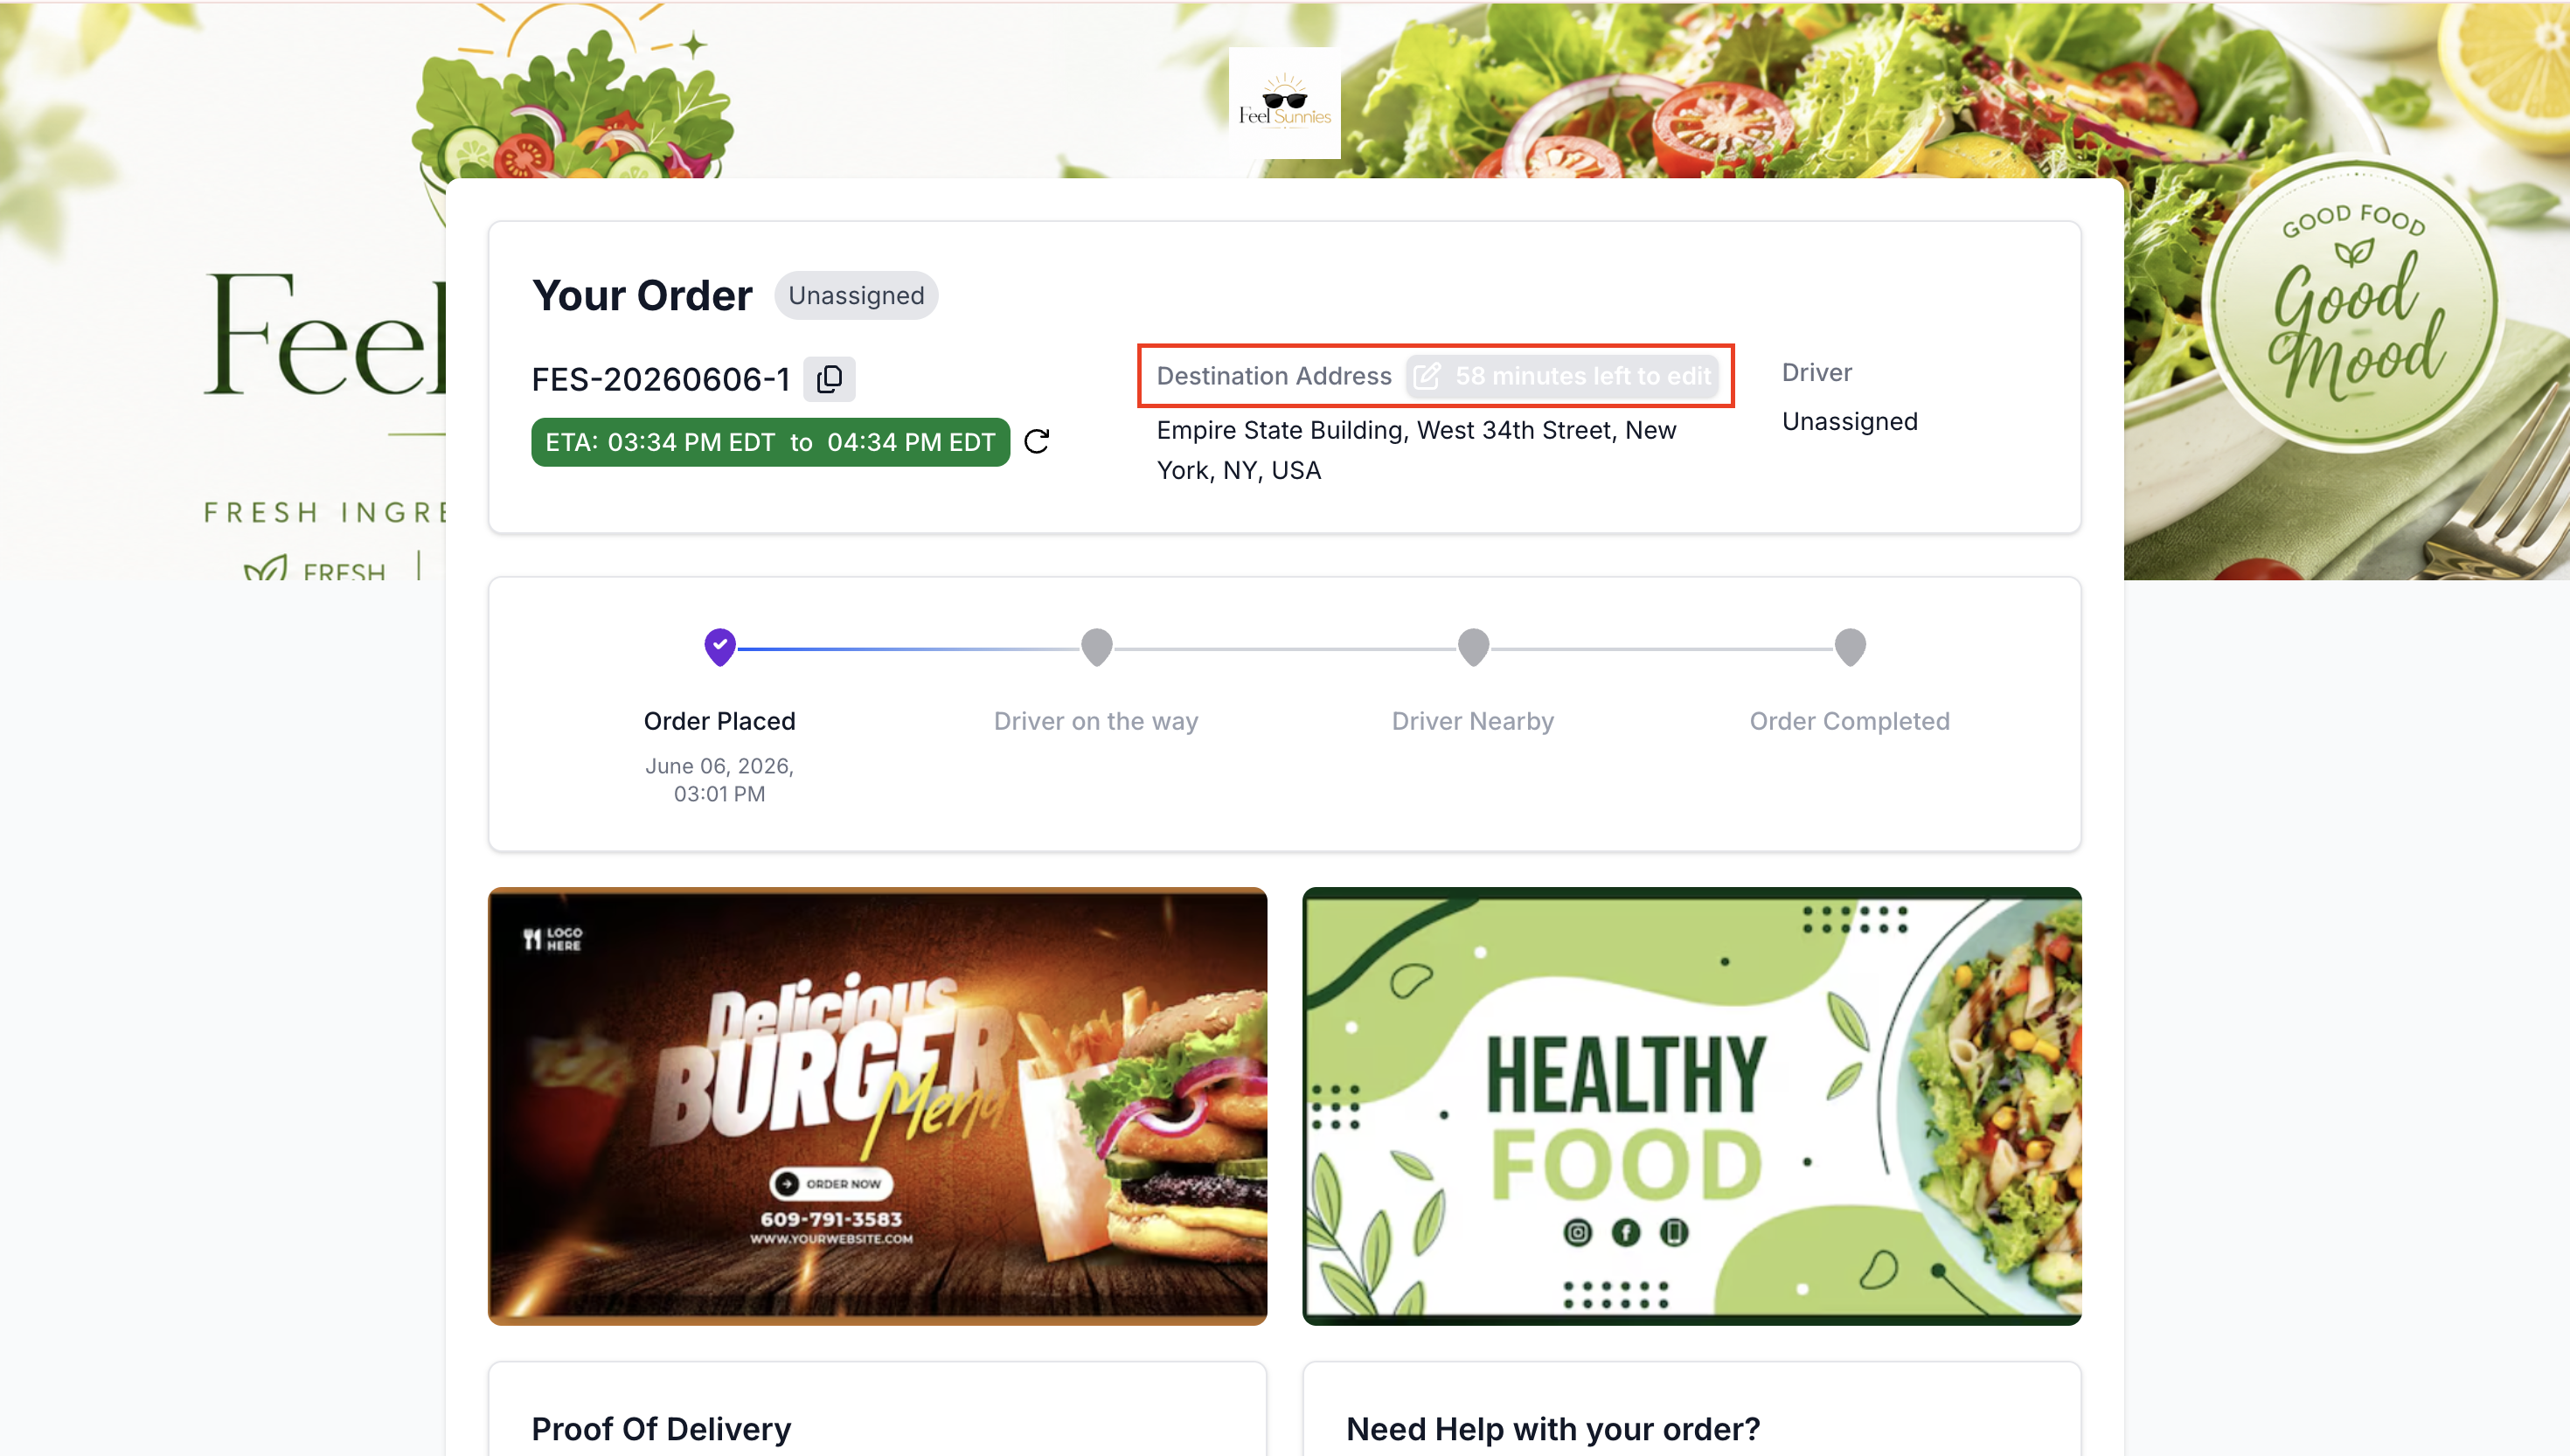
When customers open the tracking link, they will see the branded tracking page with the business’s customized branding.
Customers can view and access the following:
-
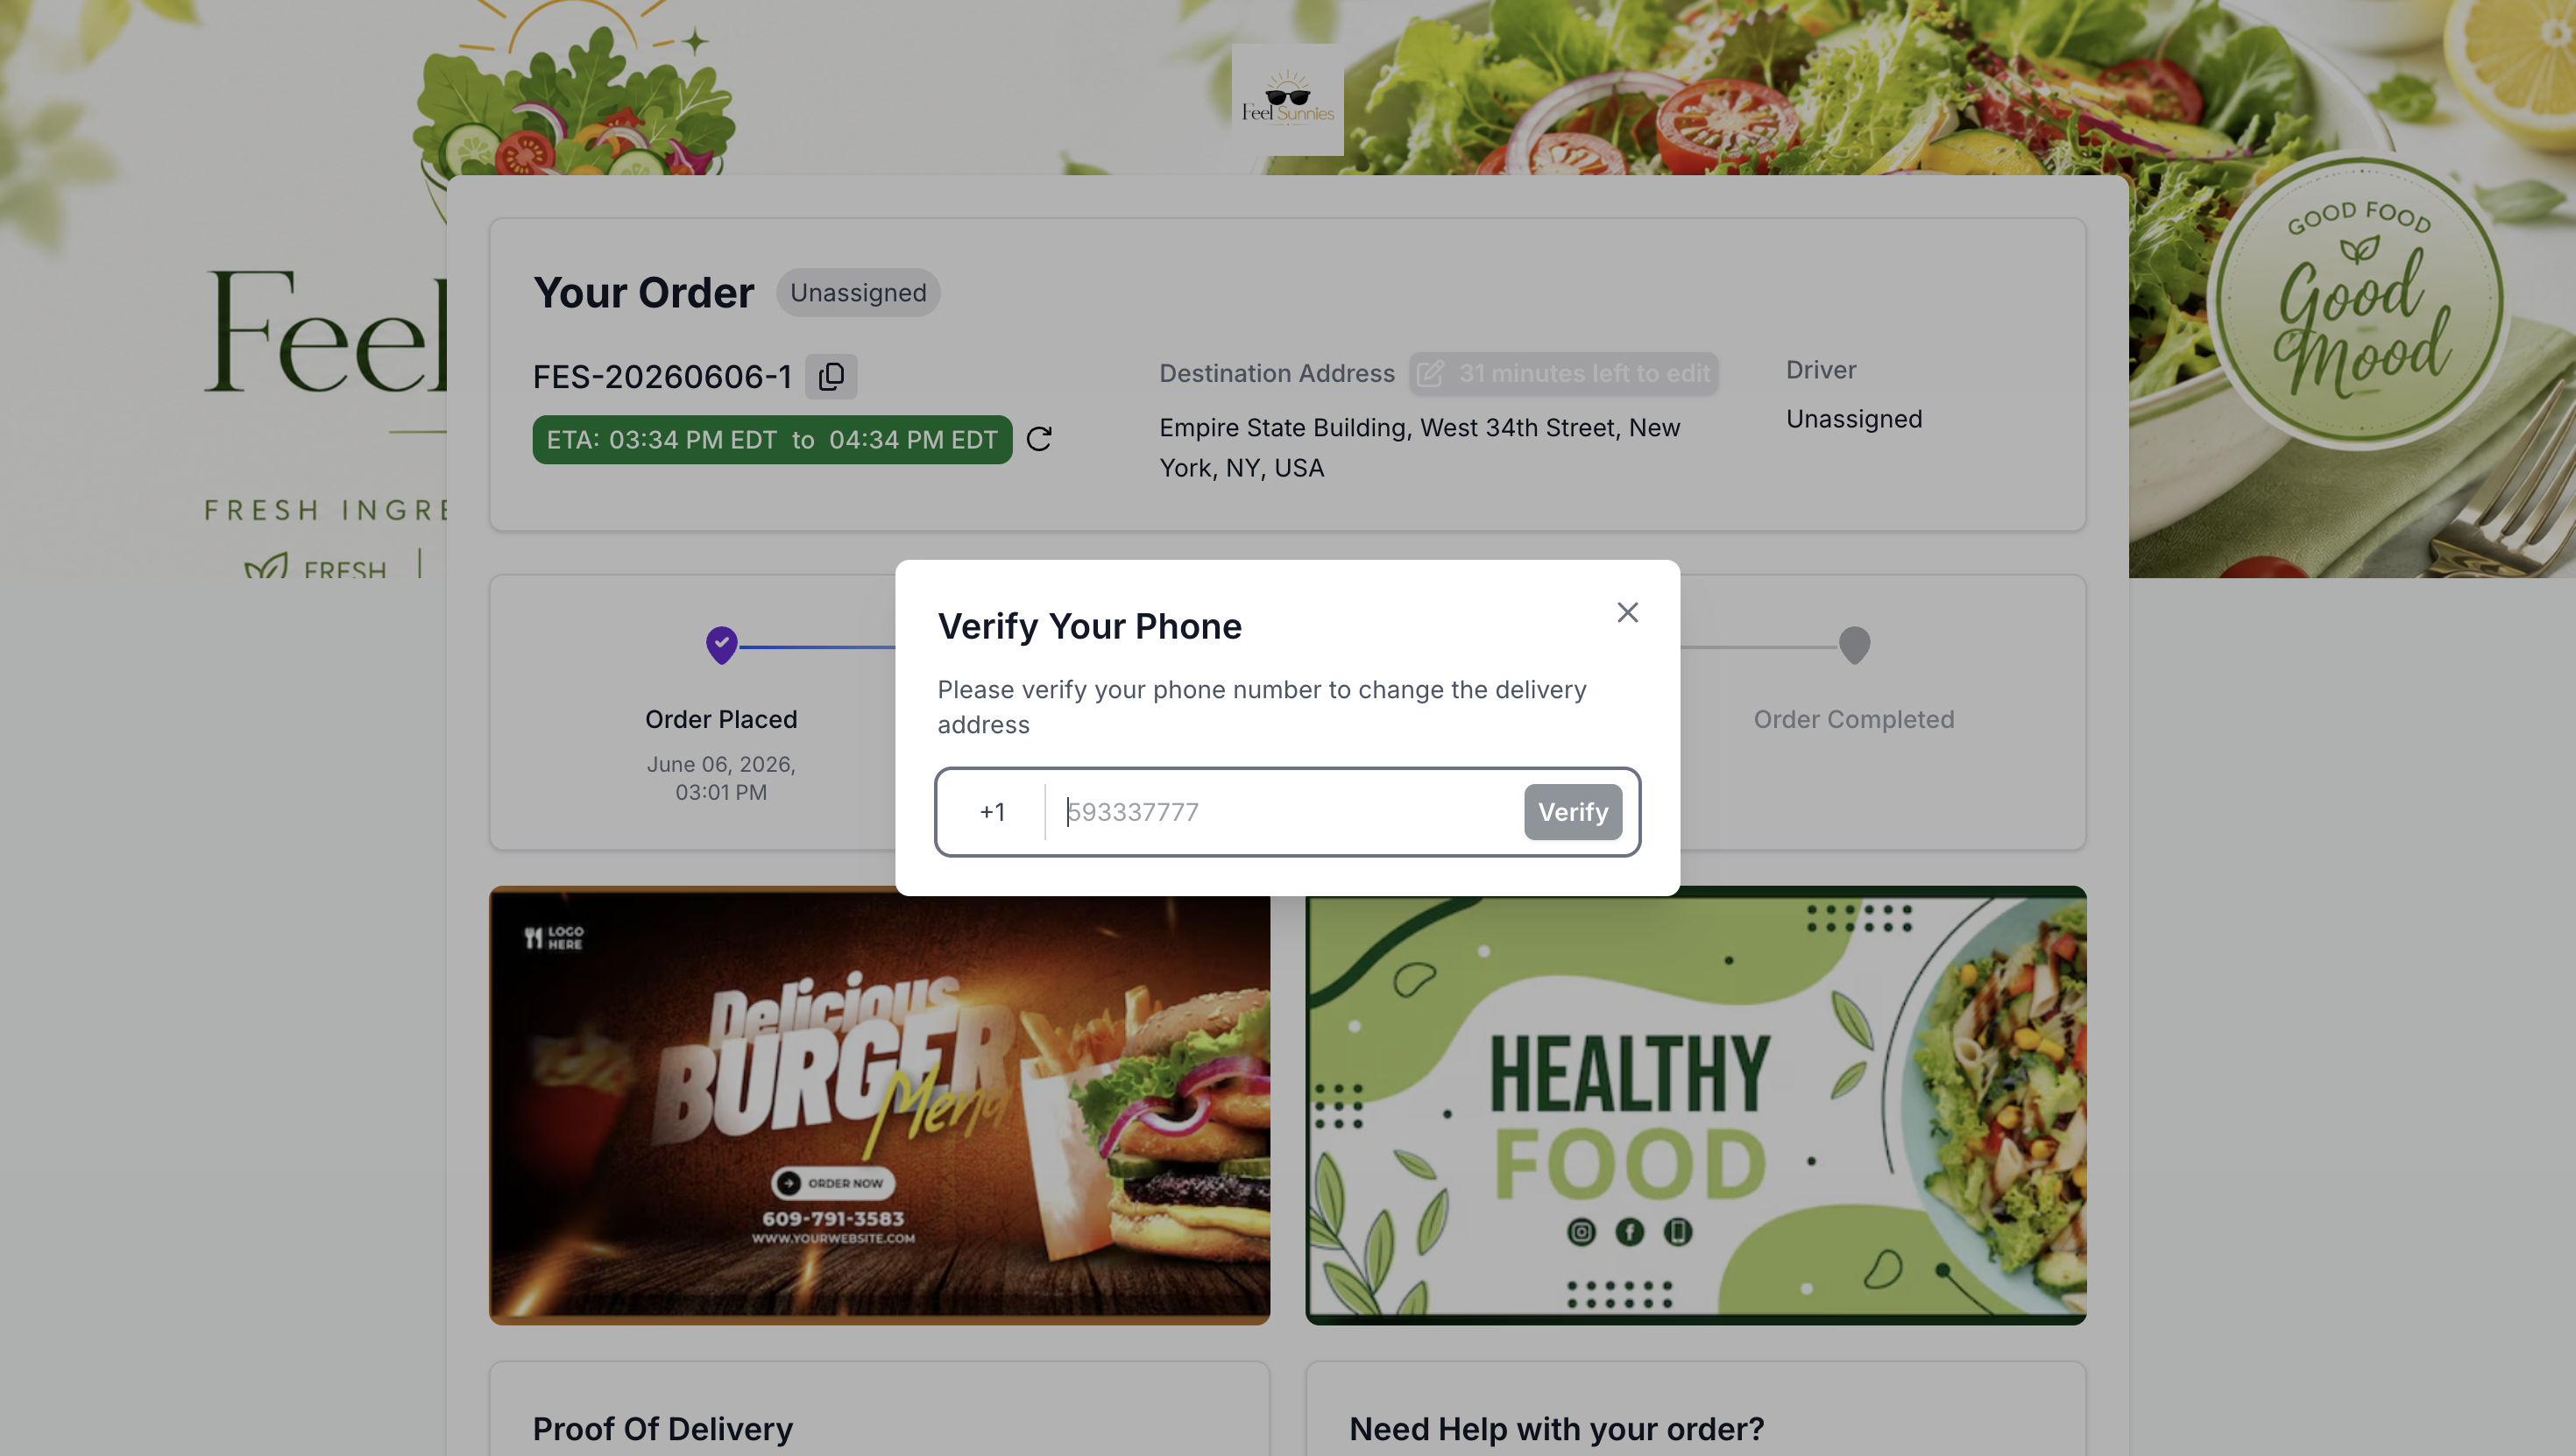
Order updates, delivery progress, destination information, and the option to update the destination address if eligible. Phone verification is required to update the address.
-
Marketing materials added by the business.
-
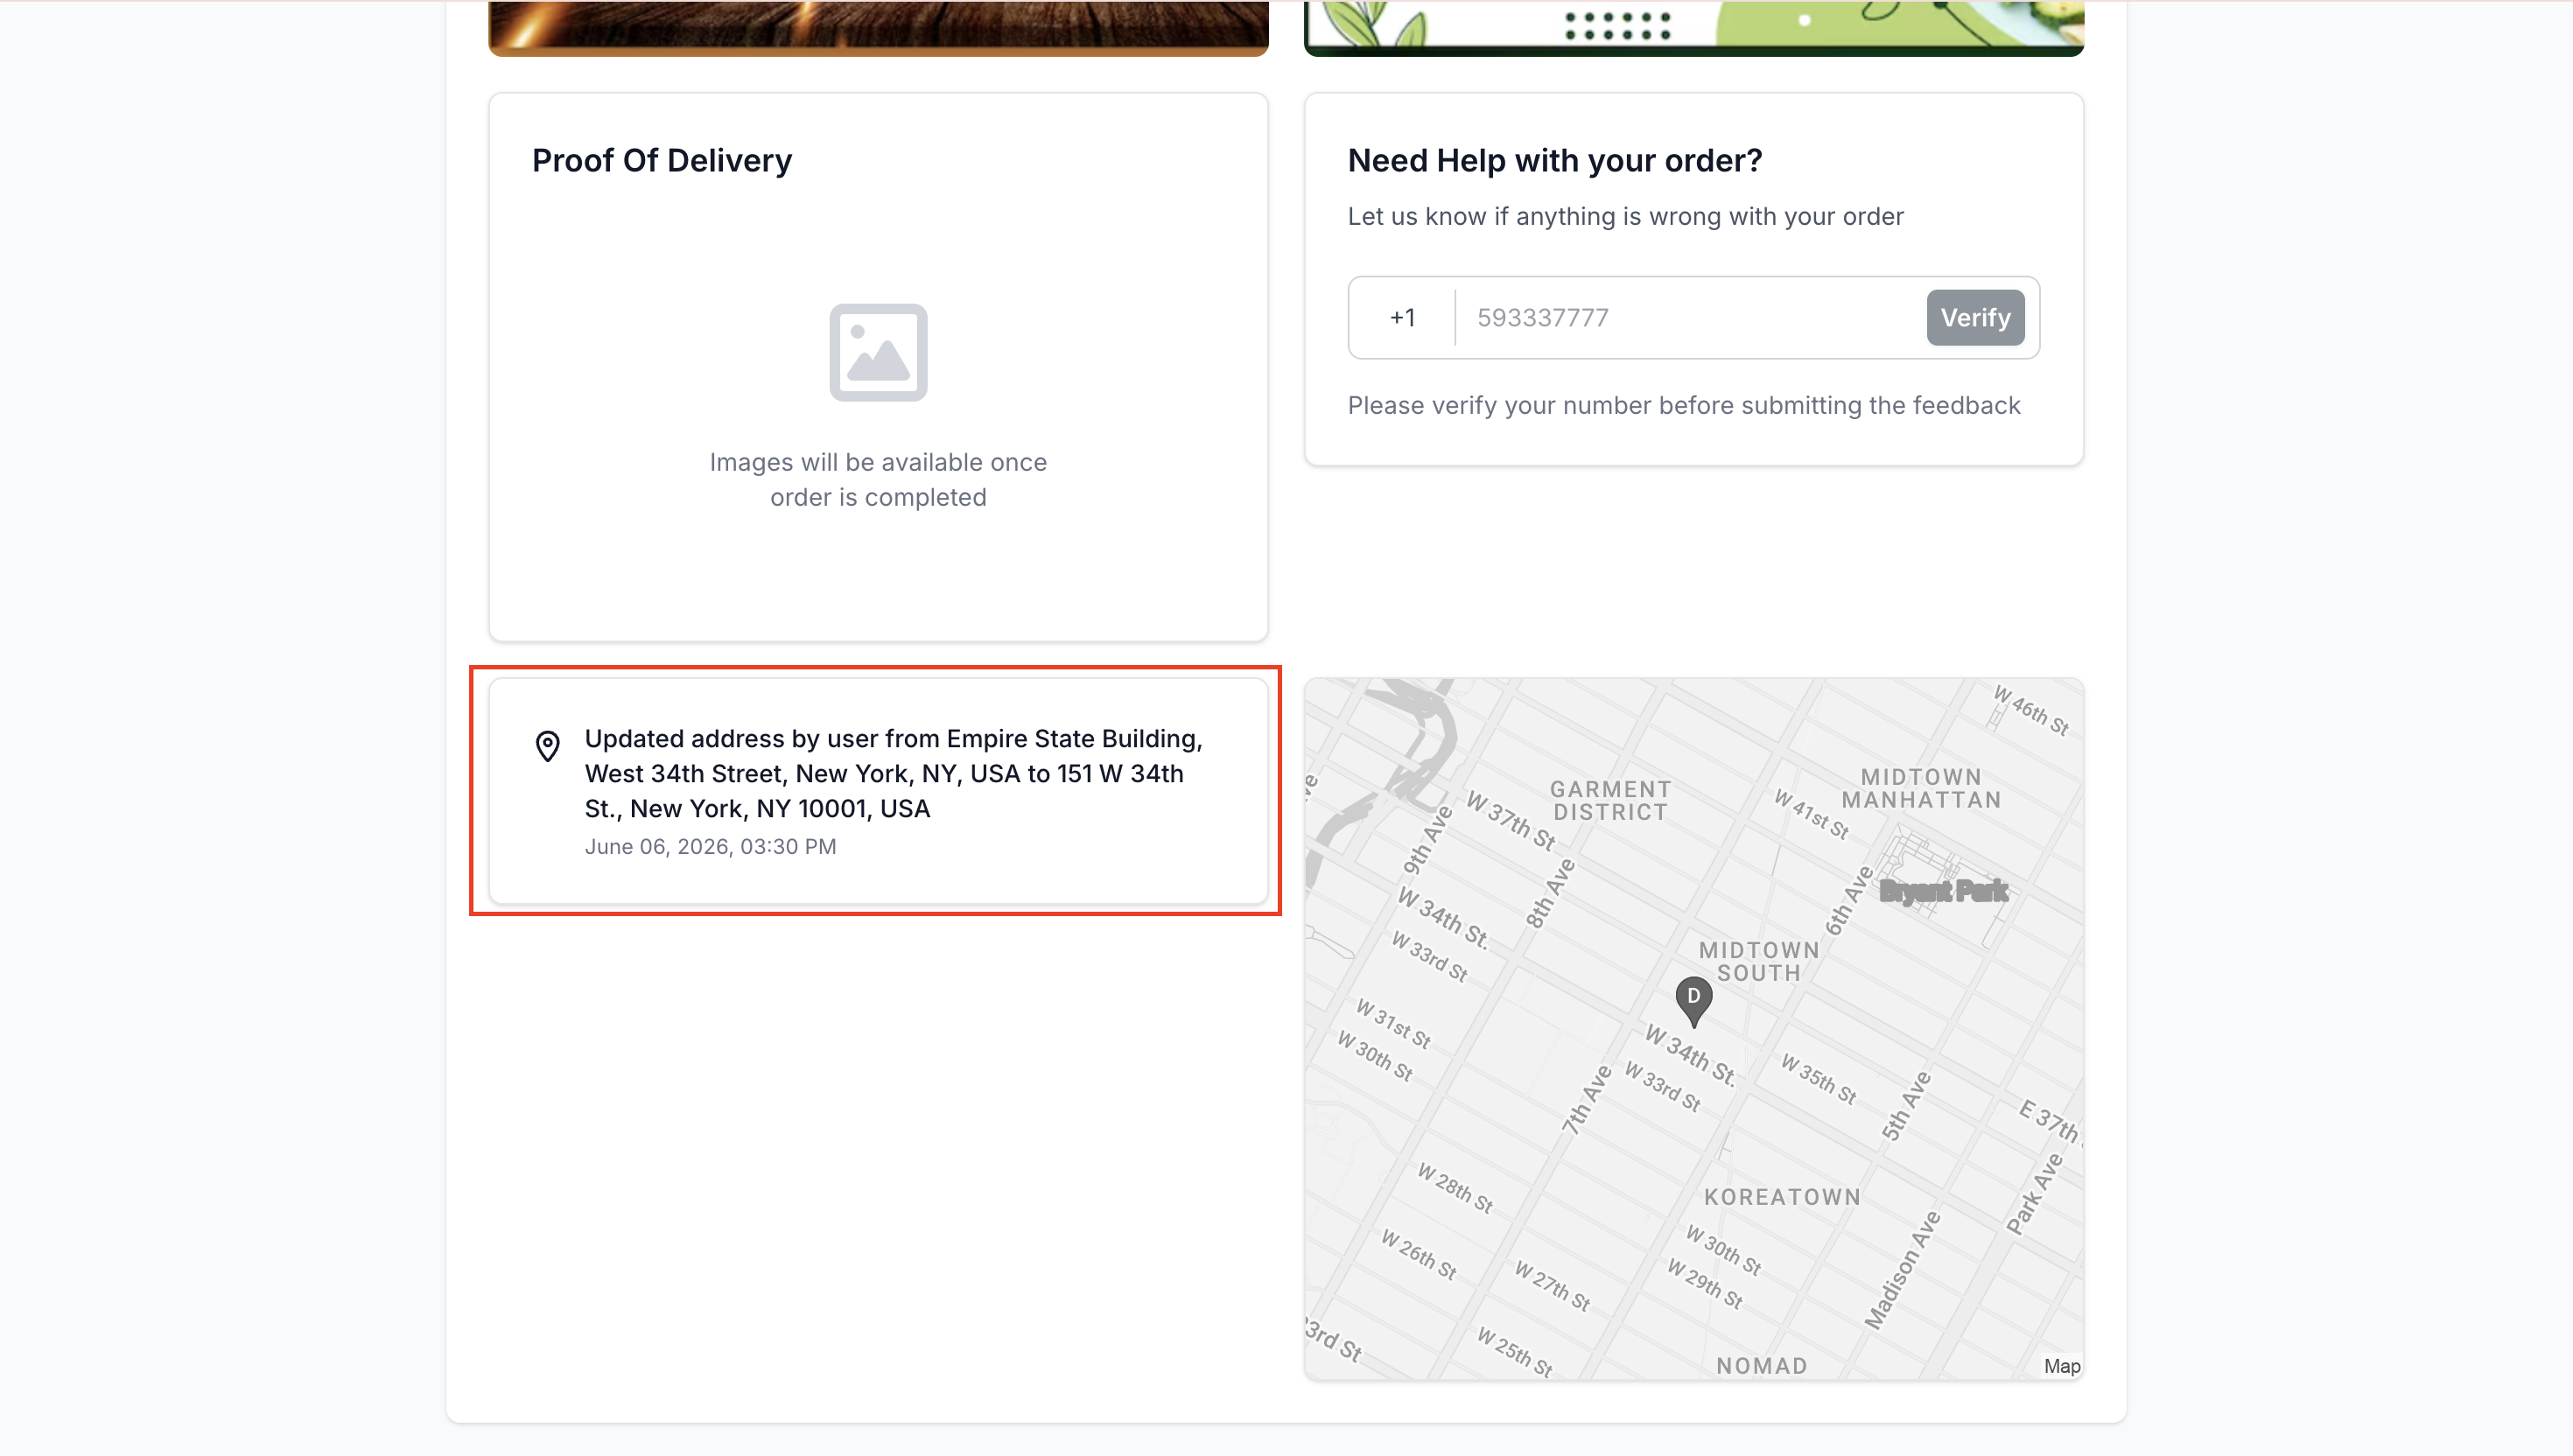
Need Help section to report an issue. Phone verification is required before submitting an issue.
-
Proof of delivery once it is available.
-
Live driver location on the map for real-time tracking.
-
User action history and relevant updates from the tracking link if they take any action.
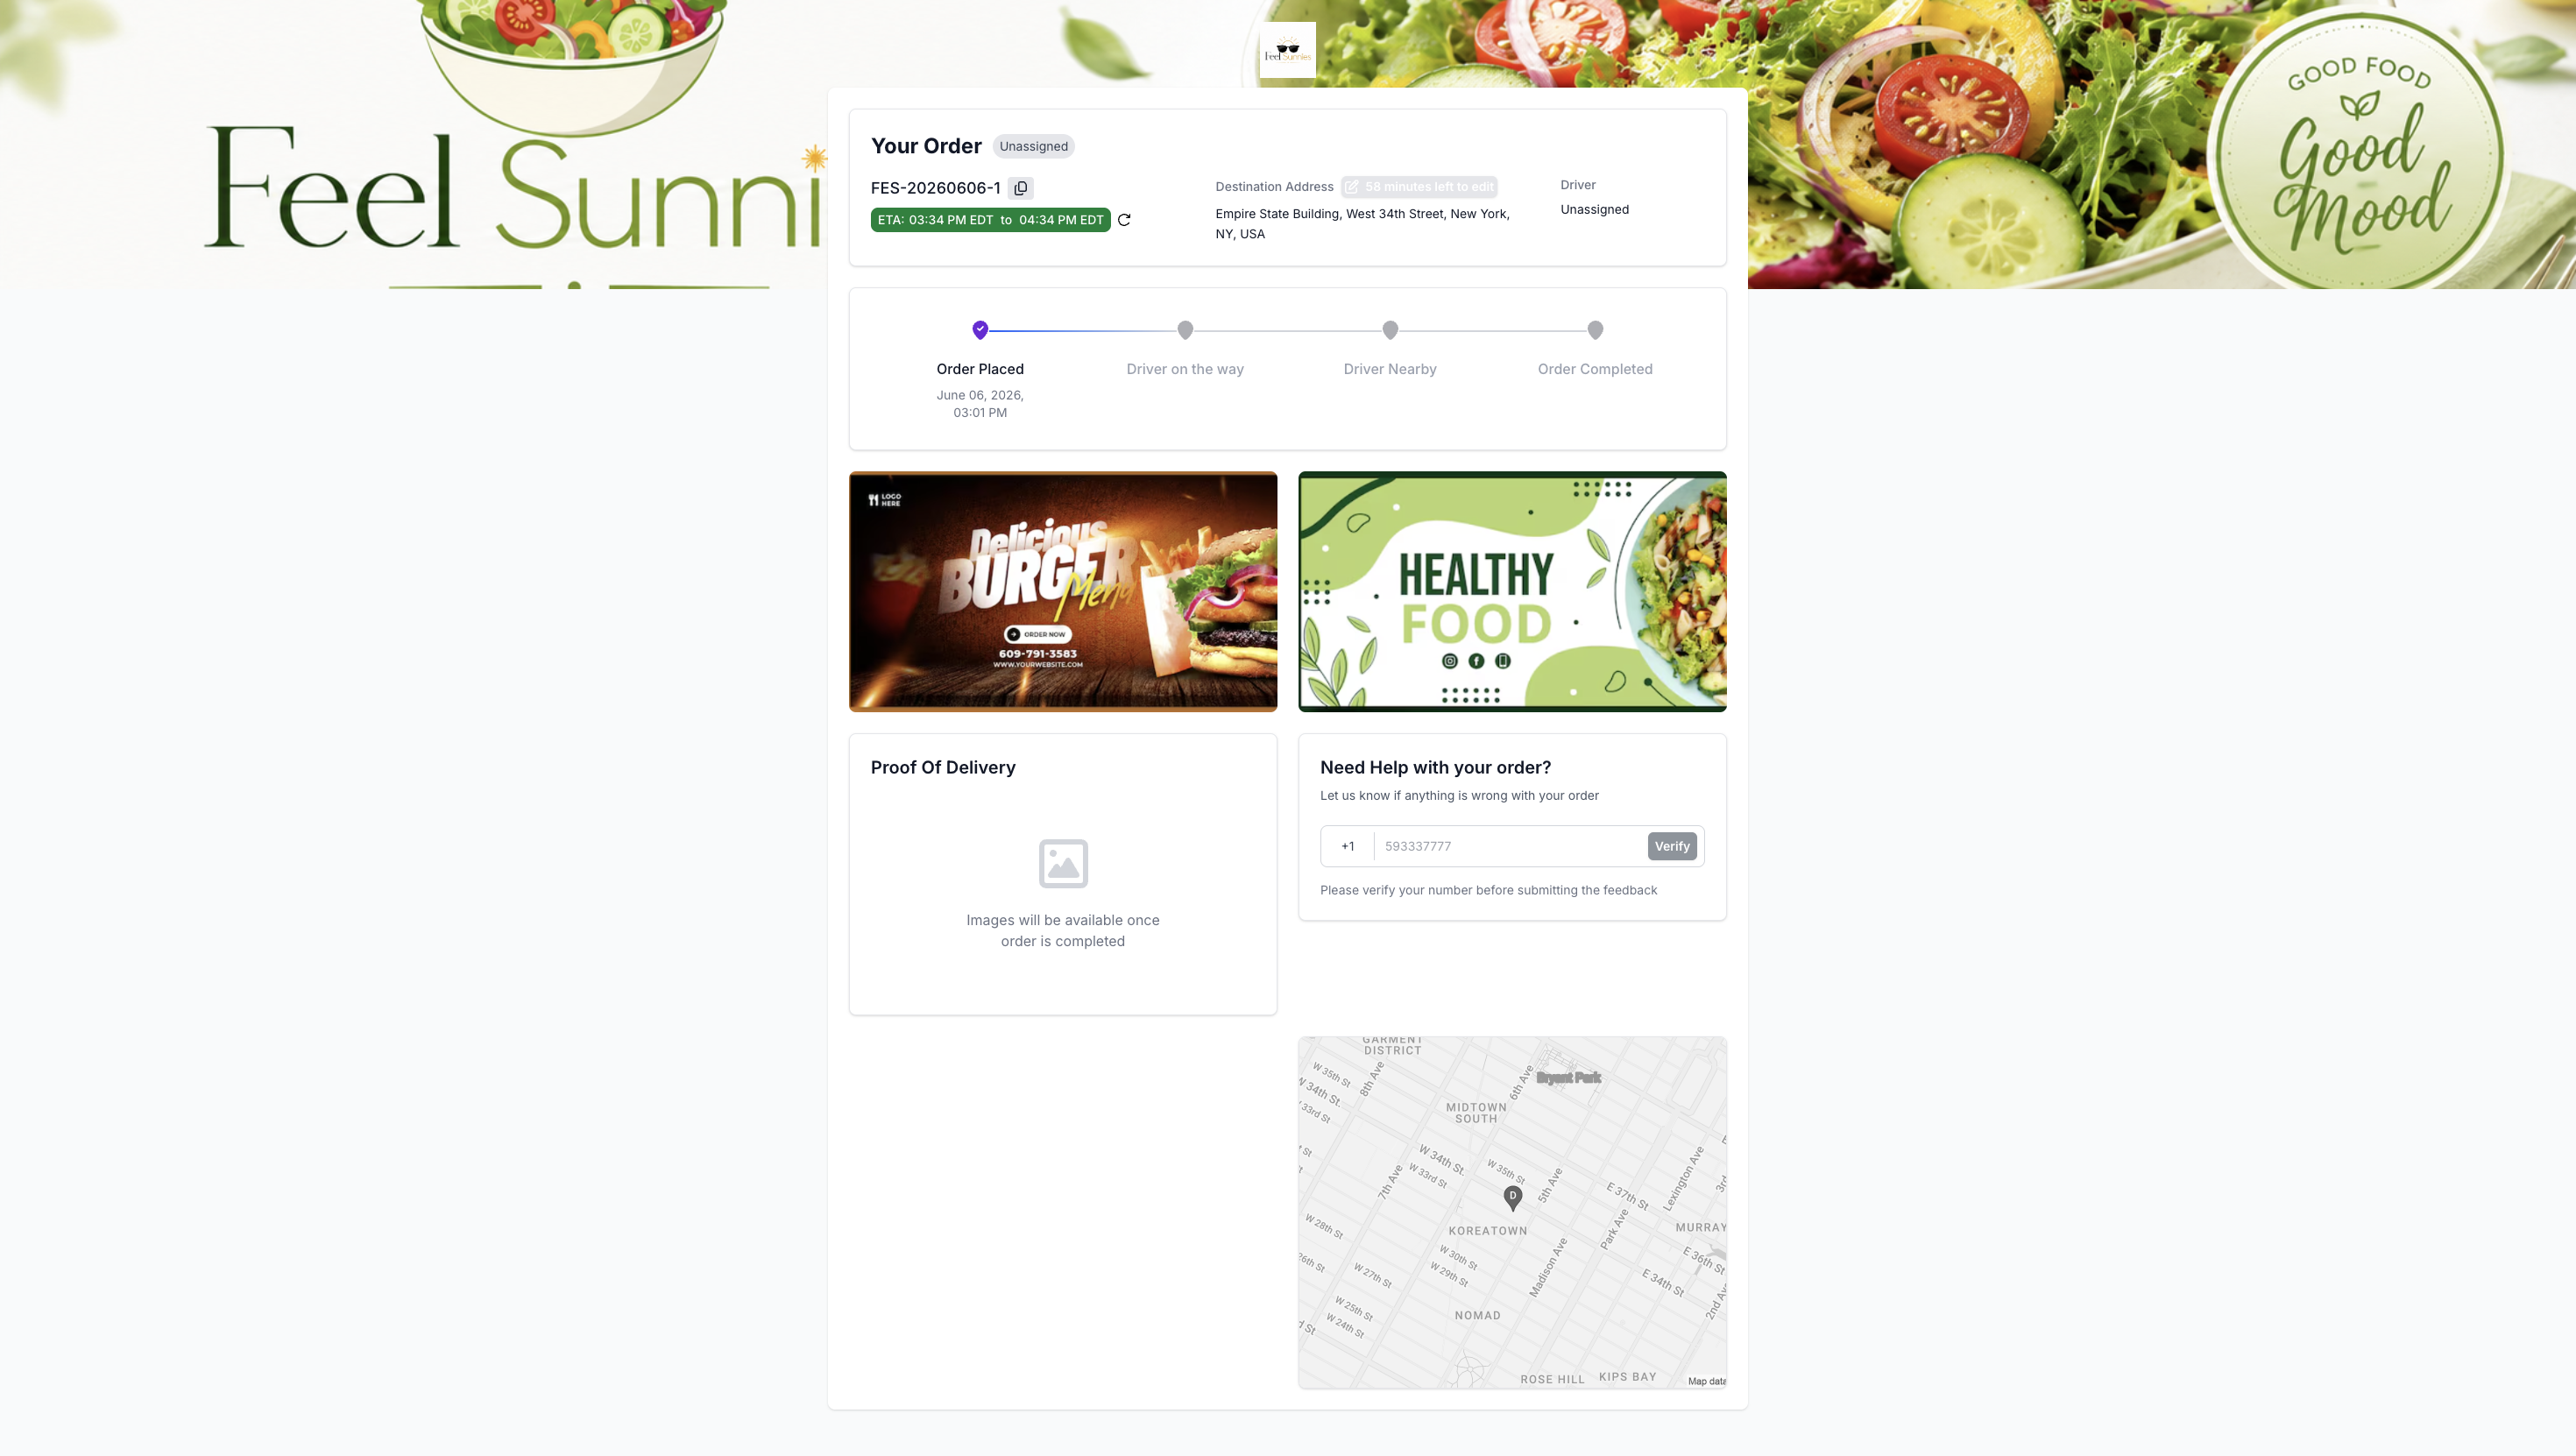
Updating the Destination Address from the Tracking Link
Customers can update the destination address from the tracking page only within the allowed time and distance limits.
To update the address, customers need to click the edit icon beside the Destination Address section. A timer will be displayed to show how much time is remaining to make changes to the order.
Before editing the address, customers must complete phone verification. Once verified, they can enter the new destination address.
The new address must be within a 300-meter radius of the original destination address. If the new address is outside the allowed radius, the customer will not be able to save the update.

After entering a valid address, the customer can click Save to update the destination address. Once saved, the tracking page will show that the order destination has been updated.

The address update action will also be recorded in the Reporting History on the tracking link.
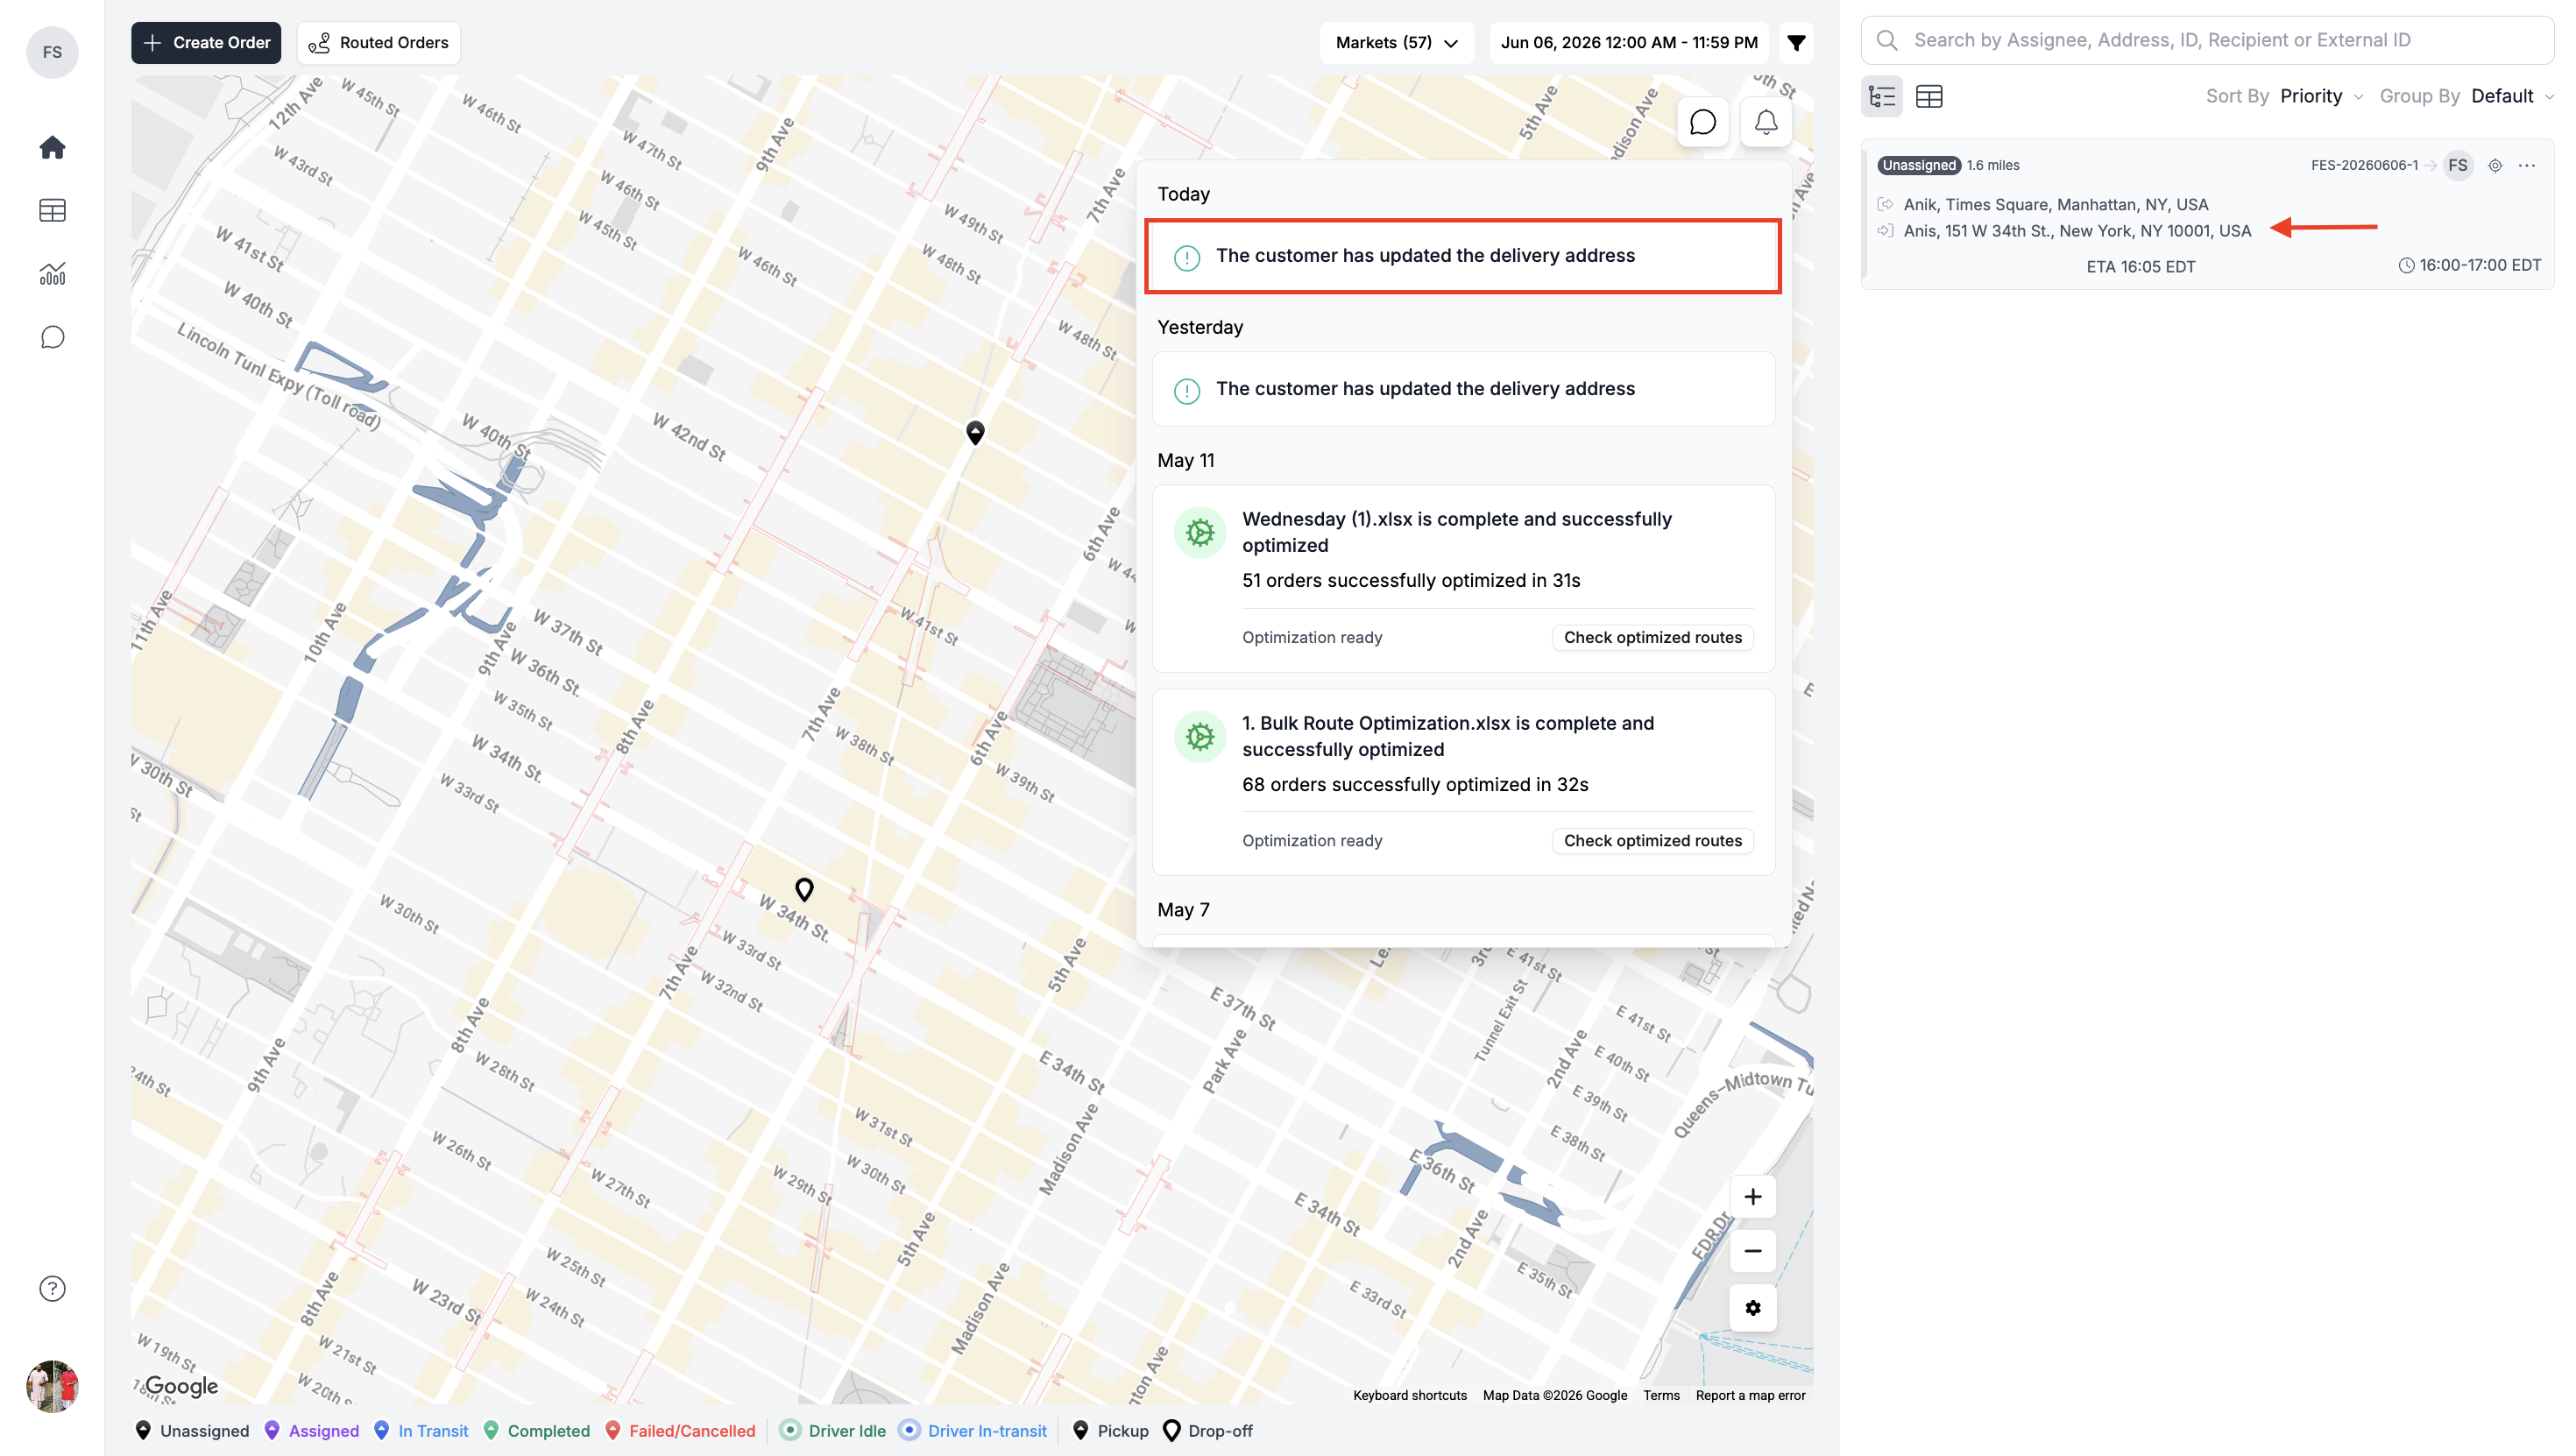
In FULFLLD, the updated address will appear on the order card, and dispatchers will receive a notification about the address change.
Important Notes
- Customers must complete phone verification before updating the destination address or reporting an issue from the Need Help section.
- The updated destination address must be within a 300-meter radius of the original address.
- Customers can only update the destination address between 90 minutes and 30 minutes before the scheduled pickup time. Once the update window closes, the address can no longer be edited from the tracking link.
- Customers can update the address only once.
- Any customer address update will be reflected on the order and recorded in the Order Timeline.
- Businesses can also customize how Need Help alerts are handled. If required, they can choose not to send Need Help alerts to FULFLLD and configure the section based on their own business needs.
- Proof of delivery, Need Help, tracking map, and reporting history will continue to work based on their existing functionality.
Updated about 2 months ago